

Follow these steps to connect printers, scanners, or other peripherals to your POS system:
1. Access the POS Pointe Settings
- Log in to the POS Pointe
- Navigate to the Settings section in the portal.
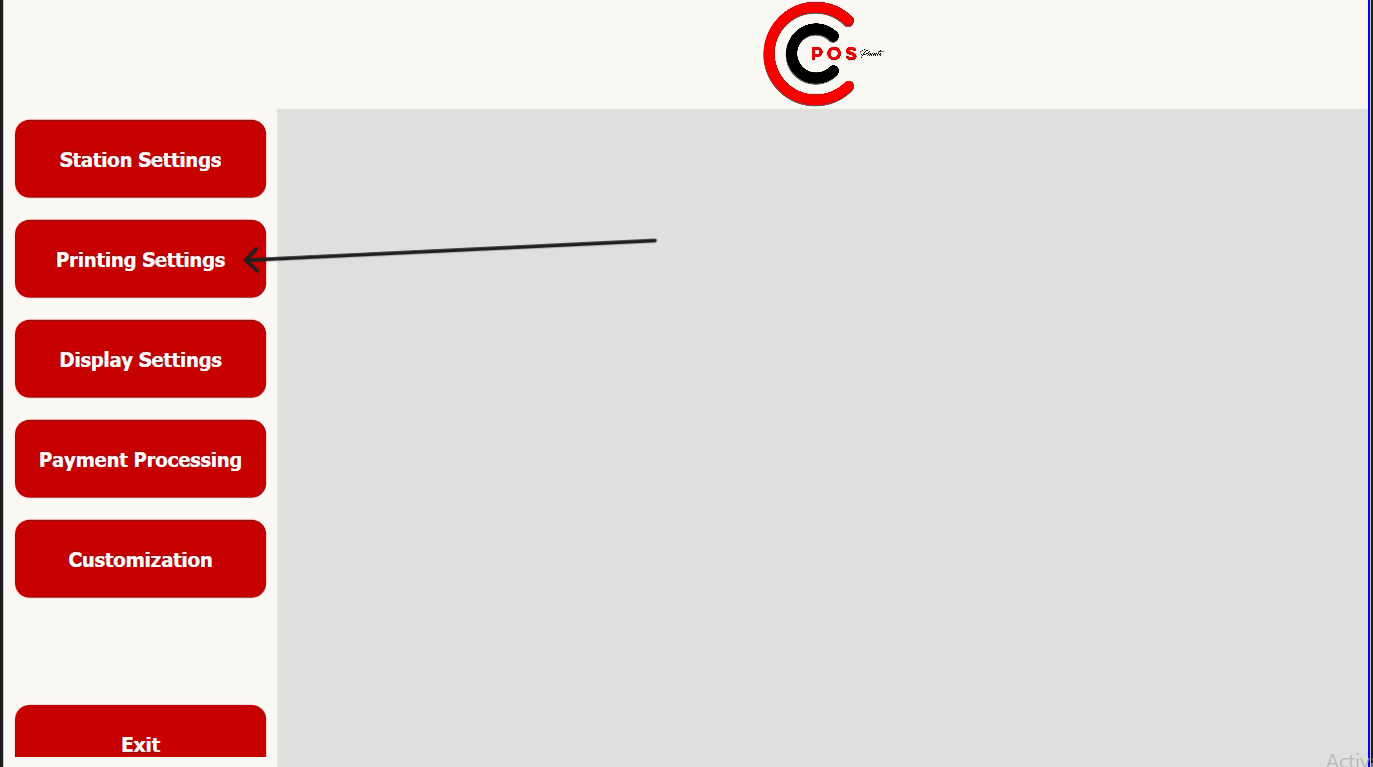
2. Go to Printing Settings
- Within the Settings section, locate and click on Printing Settings.
3. Connect Receipt and Kitchen Printers
- In the Printing Settings page, you can set up your receipt printer and kitchen printer.
- Ensure the printers are properly connected to your network (via Ethernet or USB, depending on your setup).
- Select the appropriate printer type for each category (e.g., receipt or kitchen printer).

4. Test the Connection
- After setting up the printers, perform a test print to verify that they are connected and functioning correctly.
If you encounter any issues or need further assistance with connecting printers, scanners, or other peripherals, feel free to reach out to our support team for expert guidance.
